
I’ve been asked many times how I make my handmade greeting cards and someone suggested I could do a little DYI-tutorial. I thought that was a great idea, so here we go!
You need:
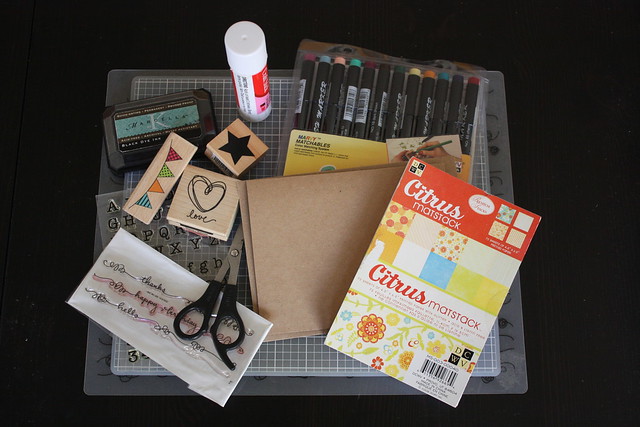
- scissors and/or single-blade cutting tool
- glue stick
- pencil and ruler
- double-sided, pre-cut mounting tape (or if you want a cheaper alternative, get a sheet of white fun foam with a sticky back, which you can cut into any shape you want/need).
- card stock
- blank card & envelope
- stamps
- ink pad or brush markers for stamping
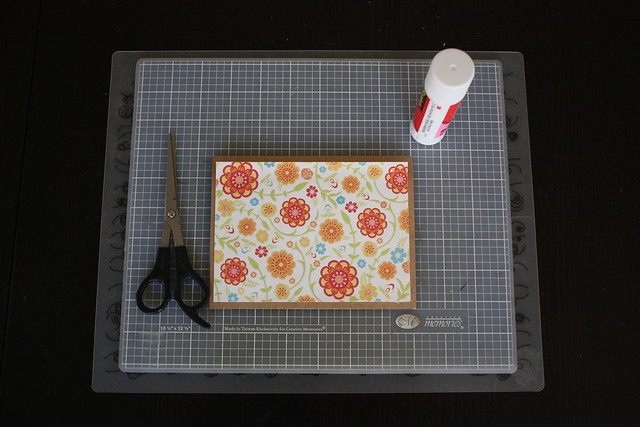
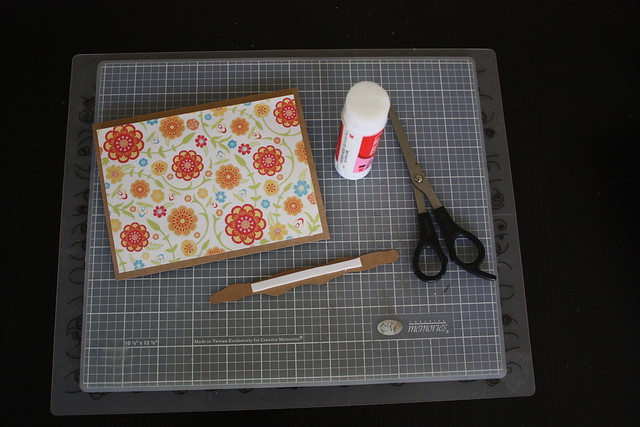
Cut the card stock so it fits the blank card and leaves a little bit of a white frame around it. Glue it to the front of the card.
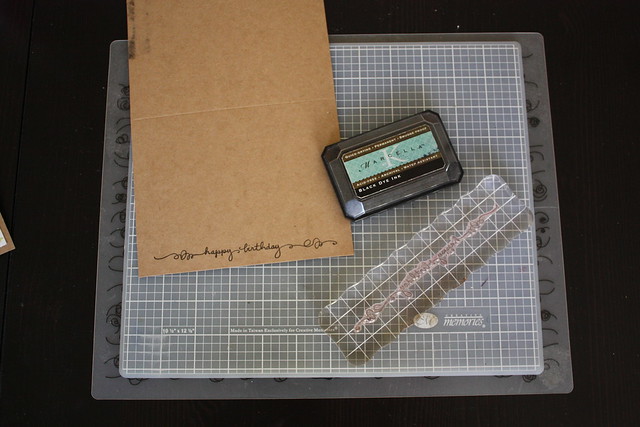
On a card (matching the card and envelope that you’re using), stamp your image. Depending how “busy” the cardstock pattern is that I picked out, I either stamp in blank ink or I use colored brush markers to achieve a colorful, unique look (see examples below).
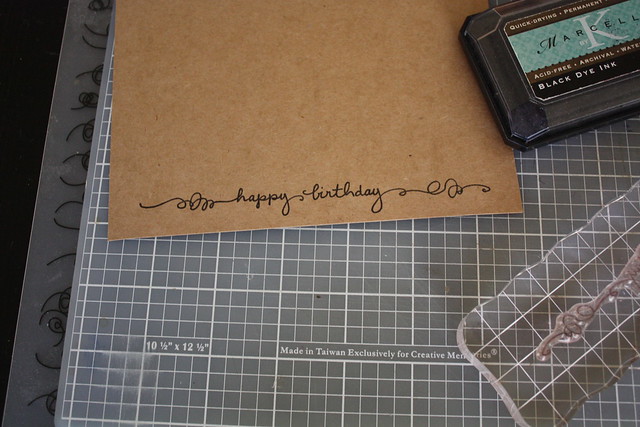
A lot of people struggle with stamping without getting any smears on their cards. My trick is: I don’t push my stamp into the ink pad, but I lightly tap it on the pad, so that just enough ink gets on the stamp image, but not on the corners or other areas that are NOT part of the stamp design. Then I firmly, but briefly apply pressure straight down on the stamp when I transfer it to paper. Make sure you apply pressure evenly. Don’t keep pushing it too hard or for too long, because some paper (more than others) will start absorbing the ink and that will blur the ink lines.
Always, always practice (especially with a new stamp) on some scrap paper until you feel confident enough to cleanly stamp on your card. It’s so frustrating when you waste a fresh blank card by not having gotten to know your stamp first.
I also clean off every stamp after I use it by stamping it on a wet paper towel until it’s clean and doesn’t leave any more ink. This will ensure that your stamped images will always be clean and no “old ink” bleeds into your project when you use the stamp again (that is especially important when you stamp with different ink colors).
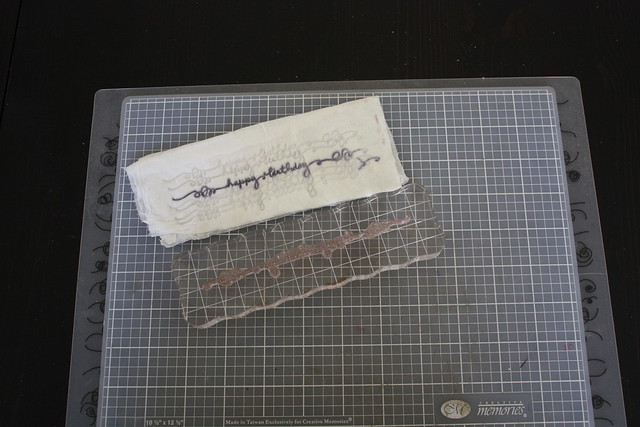
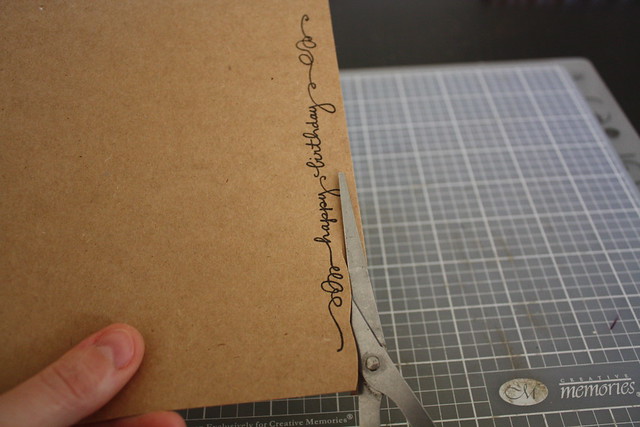
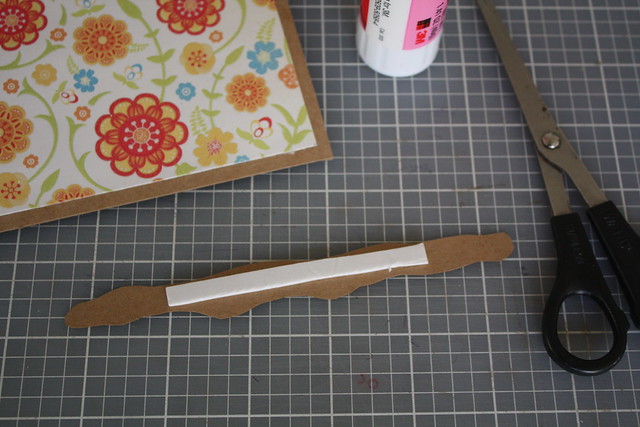
Cut out the stamped image (you can use a simple square, oval shape, or anything else you like) and attach a custom piece of mounting tape on its back.
Then attach the cut-out to the front of your card. Voilà!

This is very simple, but (IMHO) pretty example for a personalized greeting card. There is no limit to the imagination to what you can do with this method.
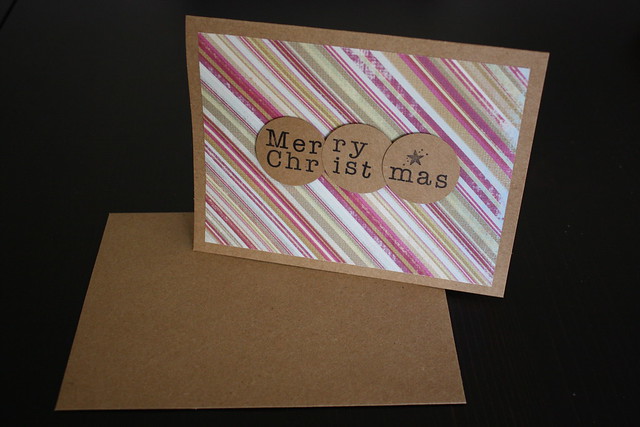
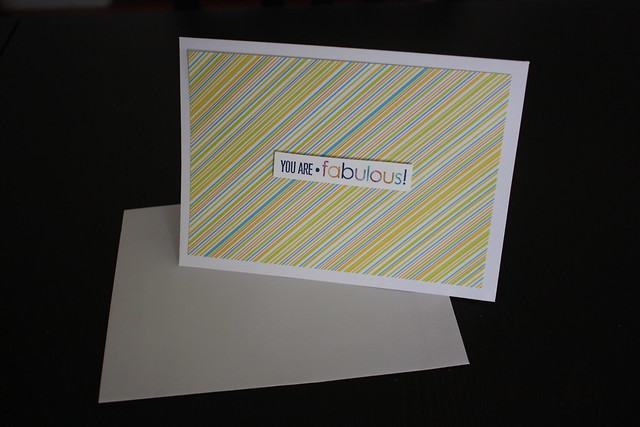
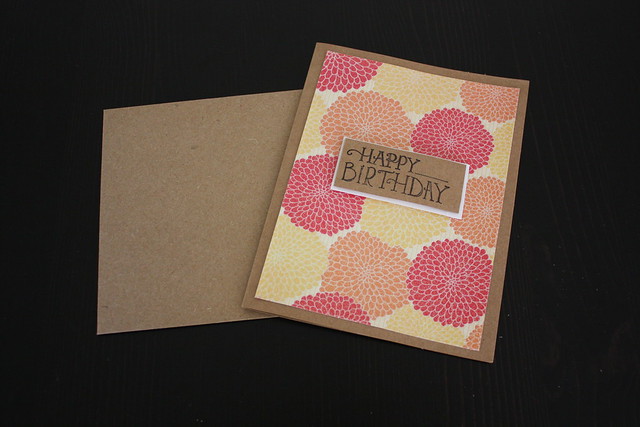
Here are a few more cards I made recently.
I hope you enjoyed this little DIY for today!
Holly
November 19, 2013 at 12:29 pmYour cards are beautiful ~ I especially like the last one :) I always *plan* to make handmade cards for birthdays/Christmas but I’m horrible at planning my time so never get them done! Do you make a lot at once or just make them for specific occasions?
Silke
November 19, 2013 at 7:10 pmLove your cards, especially the Christmas one and the way you did the title.
suki
November 19, 2013 at 10:23 pmlove love love these! what a great idea and seemingly not too difficult. i might be able to manage! :-D
Tanja
November 20, 2013 at 6:53 amThank you for the great idea’s – I got inspired again ;)
Middlestreet
November 20, 2013 at 12:20 pmWonderful! – Thank you! :-)
Gina
November 20, 2013 at 8:53 pmSUPER cute! This has inspired me to make some of my own since I love greeting cards.